

Introduction
Windows Server 2019, developed by Microsoft, is designed to help businesses manage and support network infrastructure, data storage, applications, and other server roles effectively. Below is a simplified guide to installing Windows Server 2019.
Install Windows Server 2019
In this section we will explain how to install Windows Server 2019 step-by-step, let's start.
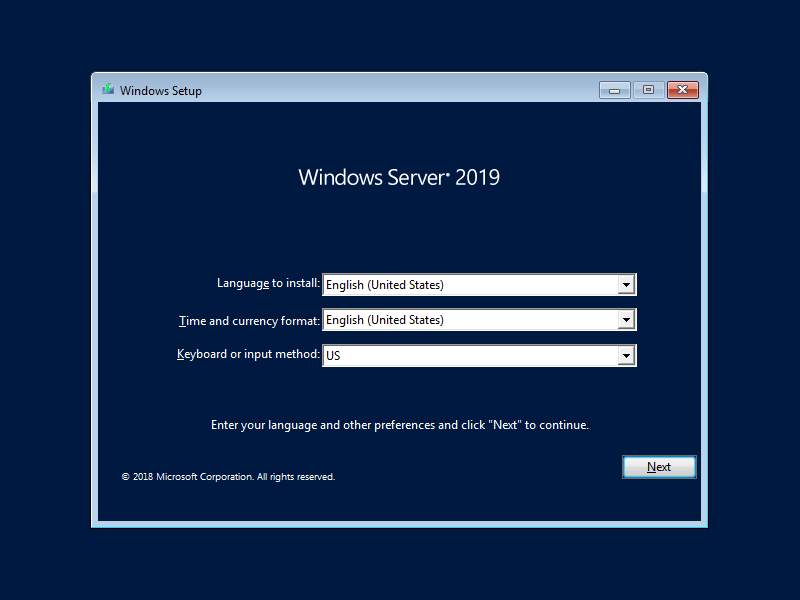
Step [1] Insert Windows Server install media and start the Computer, Then, Following screen is displayed, Proceed next to click [Next] button.
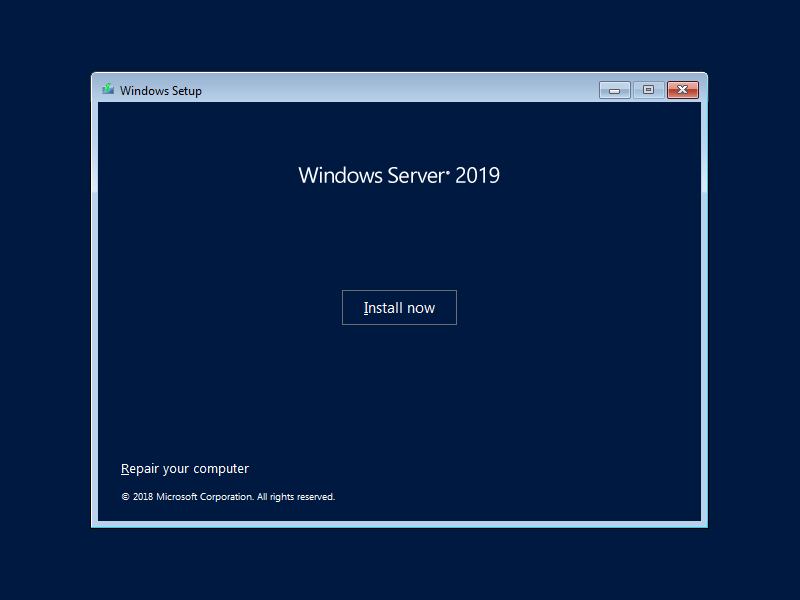
Step [2] Click [Install Now] to start installation.
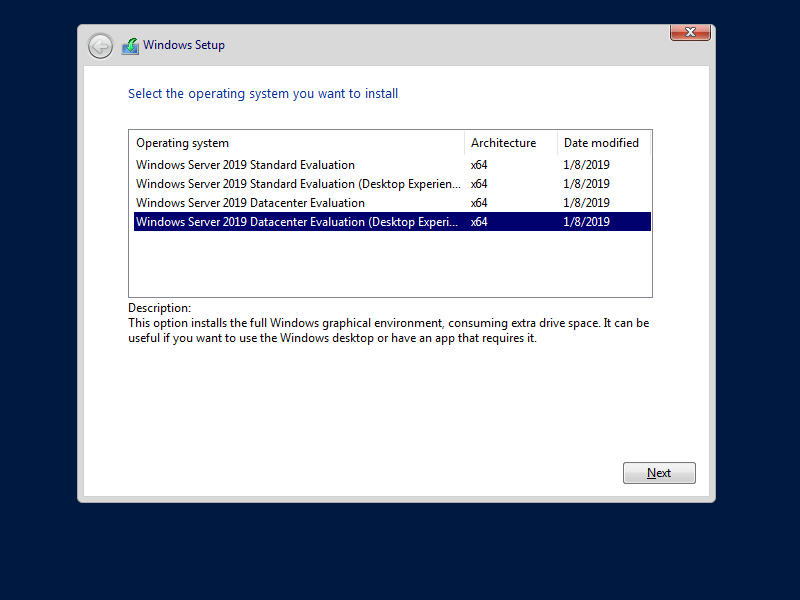
Step [3] Select the edition of Windows server you'd like to install. On this example, procced with [Datacenter with Graphical ***] version.
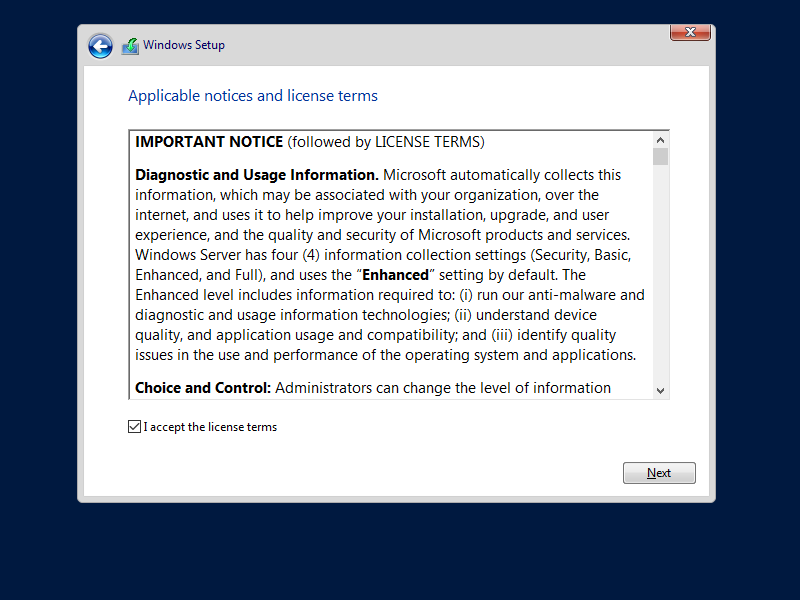
Step [4] Read License Terms Well and check a box [I acceppt ***] to proceed next.
Step [5] For newly installation of Windows server, select [Custom: Install Windows only].

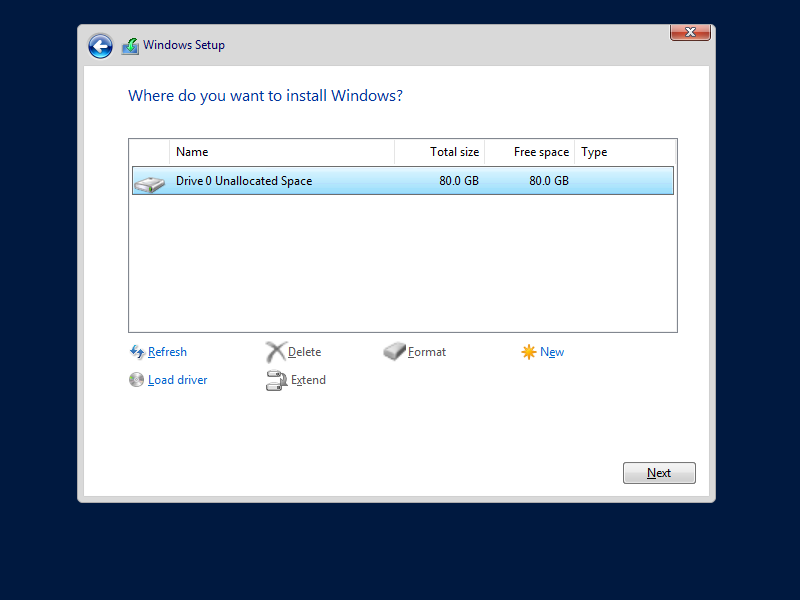
Step [6] Select a partition to install Windows Server.
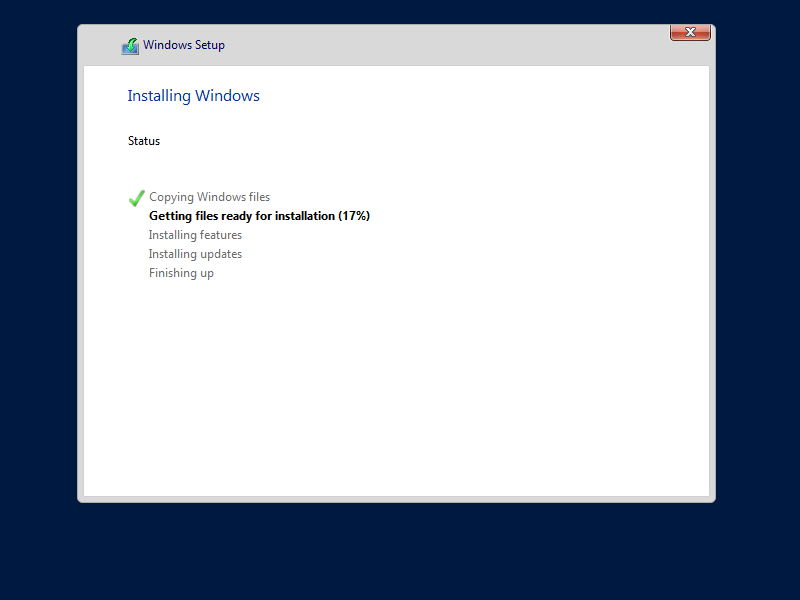
Step [7] Installation of Windows Server starts. During installation, computer restarts automatically.
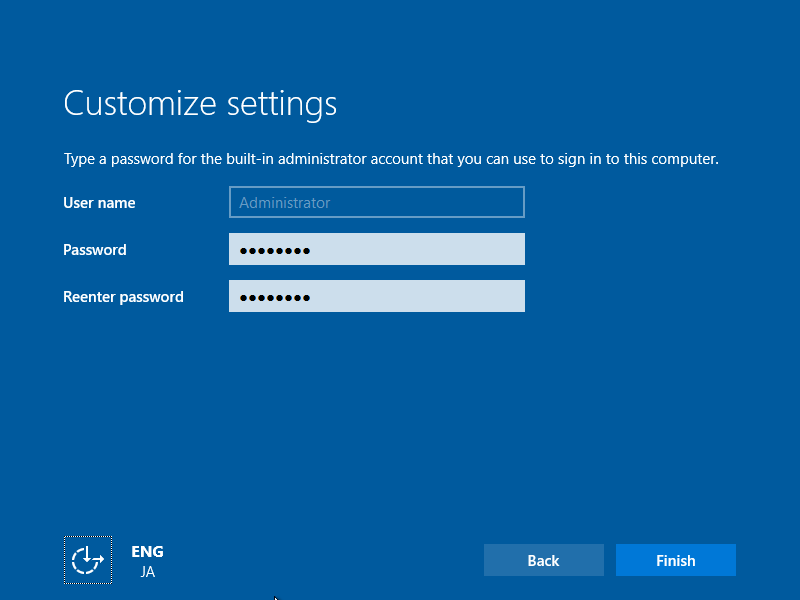
Step [8] After restarting computer, following screen is shown, then Set Administrator password.
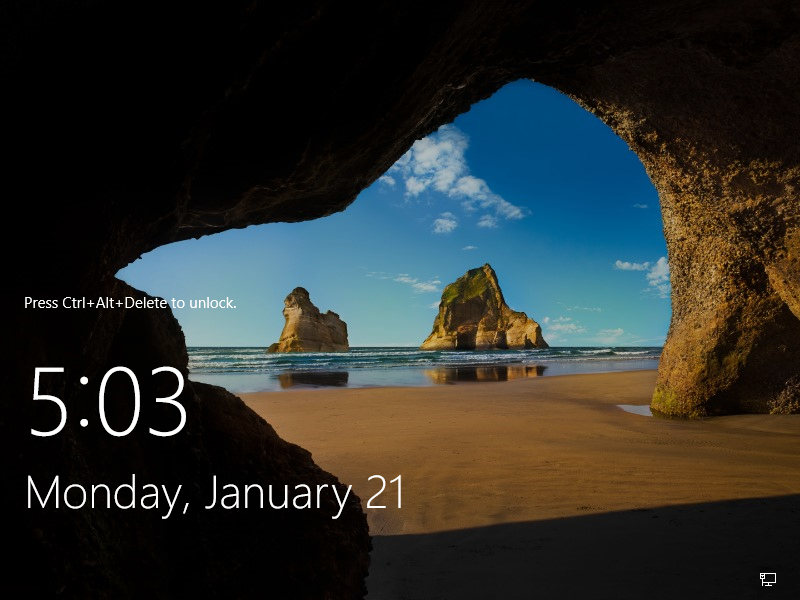
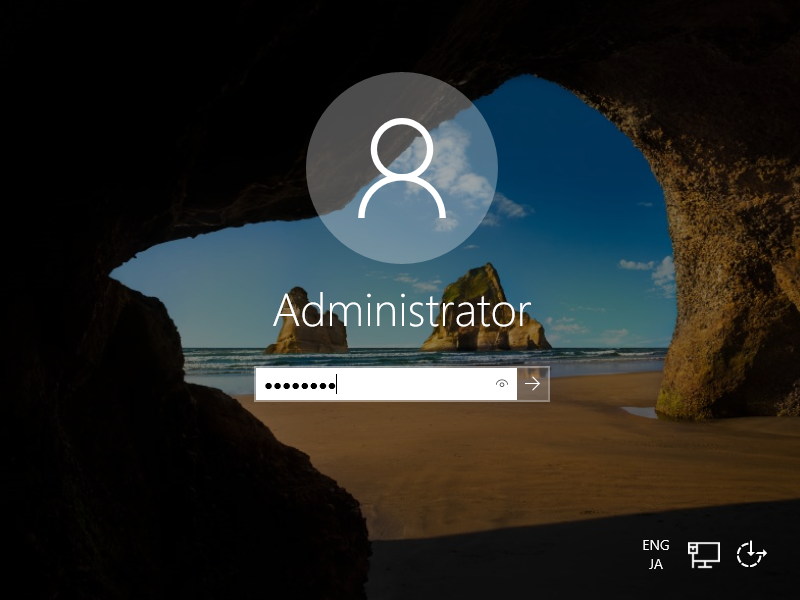
Step [9] Push Ctrl + Alt + Del key to sign-in.
Step [10] Input the Administrator password you set on section [8] to sign-in.
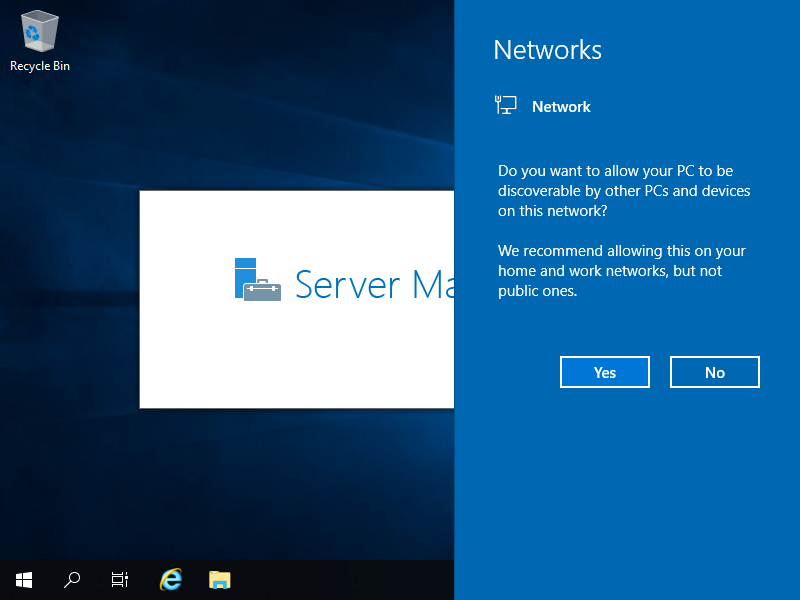
Step [11] Just logon to Windows Server. For initial logon, setting confirmation of Networks is displayed like follows, Select Yes or No.
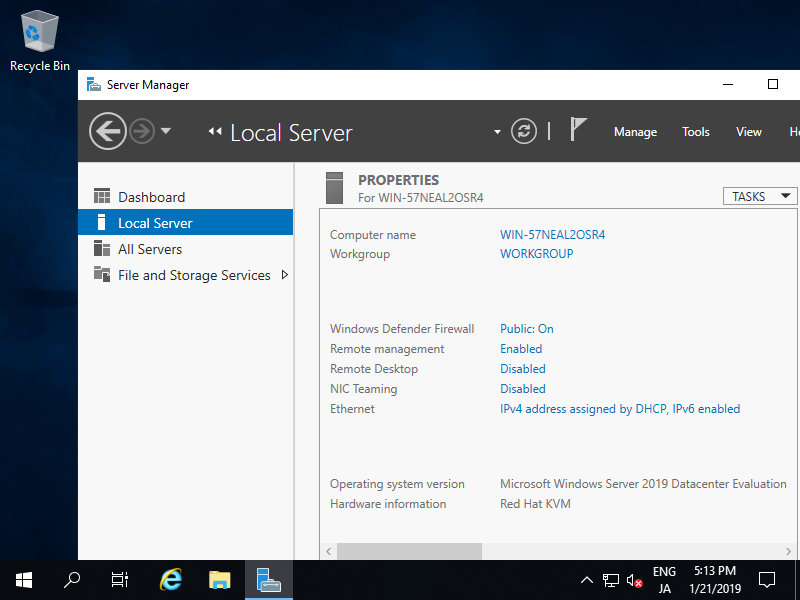
Step [12] This is the Desktop on Windows Server 2019. Installation of Windows Server completes.


Comments
Post a Comment
Thank you for your comment! We appreciate your feedback, feel free to check out more of our articles.
Best regards, Bizantum Blog Team.